Story and Photos by Kate Burke
If you’re wanting some new accessories but you’re tight on cash (aren’t we all?), it’s time to dig into your recycling and make your own. Don’t have any soda cans? Go to the grocery store, get some friends, and drink up!
Pop Tab Bracelet
Difficulty: medium
Time: about 45 minutes
Cost: about $2.00
You will need:
• About 24 pop can tabs (depending on wrist size)
• 1 ½ yards of ribbon
• Scissors
Here’s how:
1. Fold the ribbon in half to find the center
2. Holding the center of the ribbon in place, thread the top half of the ribbon over and down through the top half of the pop can tab. Make sure the shiny side of the pop tab is facing up.
3. Still keeping the center in place, thread the bottom half of the ribbon over and down through the bottom half of the pop can tab, just like the previous step. Pull it through so that a small loop exists where you folded the ribbon in half.
4. Shiny side facing down, hold a second pop tab underneath the one you just thread ribbon through. Now thread the ribbon up through the spaces created by the pop tab layers.
5. Take a third pop tab, and, shiny side facing up, hold it on top of the second pop tab you just threaded ribbon through. The two pop tabs with shiny sides facing up should be touching. Thread the ribbon through the spaces created by the overlapping tabs—over and down through the third pop tab.
6. Repeat steps 3-5 until all the pop tabs are used up, or until it is the appropriate length for your wrist. End with a shiny side facing up pop tab.
7. Now, thread one strand through the loop at the beginning of the bracelet.
8. Slip it on your wrist, and pull the ribbon all the way through so that the bracelet is tight around your wrist, and the two ends touch.
9. Tie a bow, and you’re done!
Pop Tab Headband
Difficulty: easy
Time: about 25 minutes
Cost: about $3.00
You will need:
• 16 pop tabs
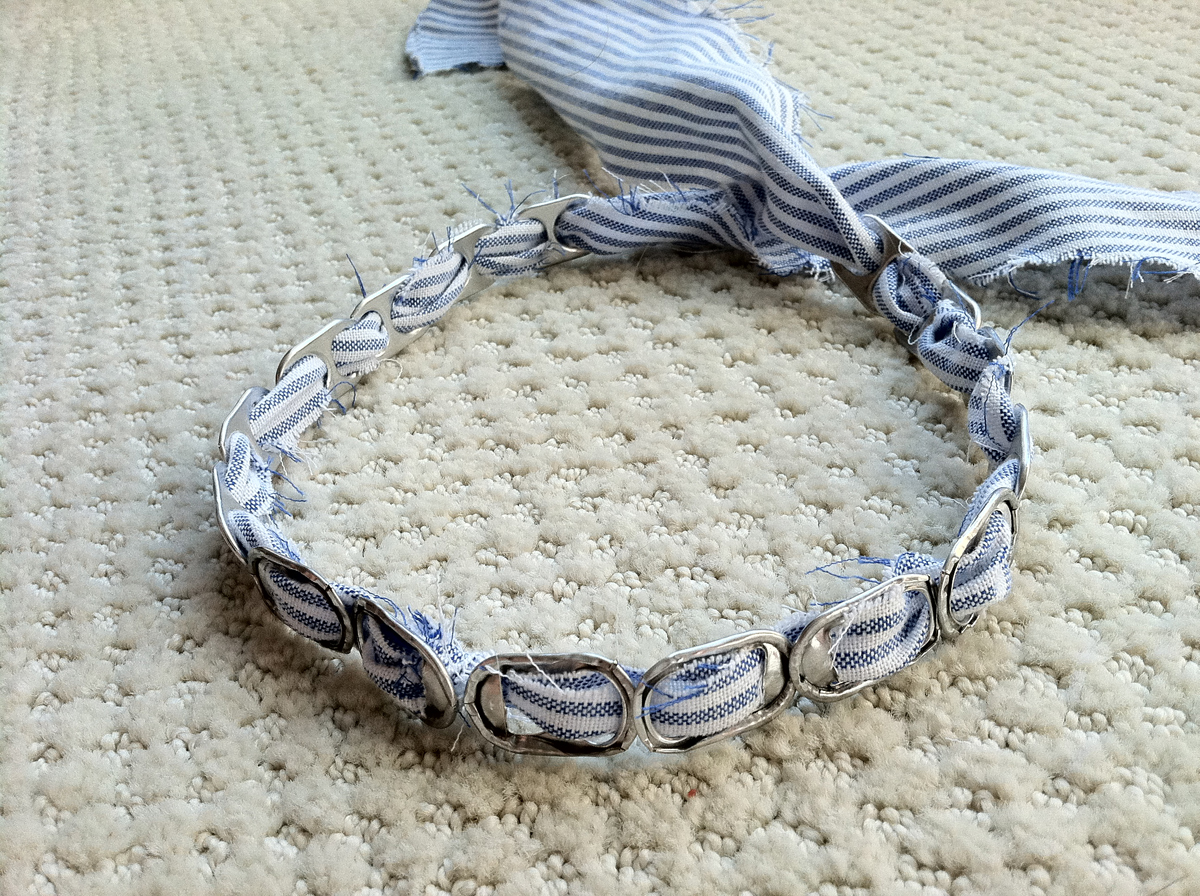
• An old shirt, ribbon, or fabric (I decided to use a shirt I found at Good Will here.)
• Scissors
Here’s how:
1. Find the place on your garment where the most fabric is available (on this shirt, it’s the back.)
2. Cut two long strips of fabric out of the shirt in a triangle shape so that the bottom is wide and the other end comes to a point. (NOTE: if you are using ribbon or regular fabric, cut about 2 ½ feet)
3. Tie the two narrow ends of the fabric strips together and cut off the excess fabric that is sticking out.
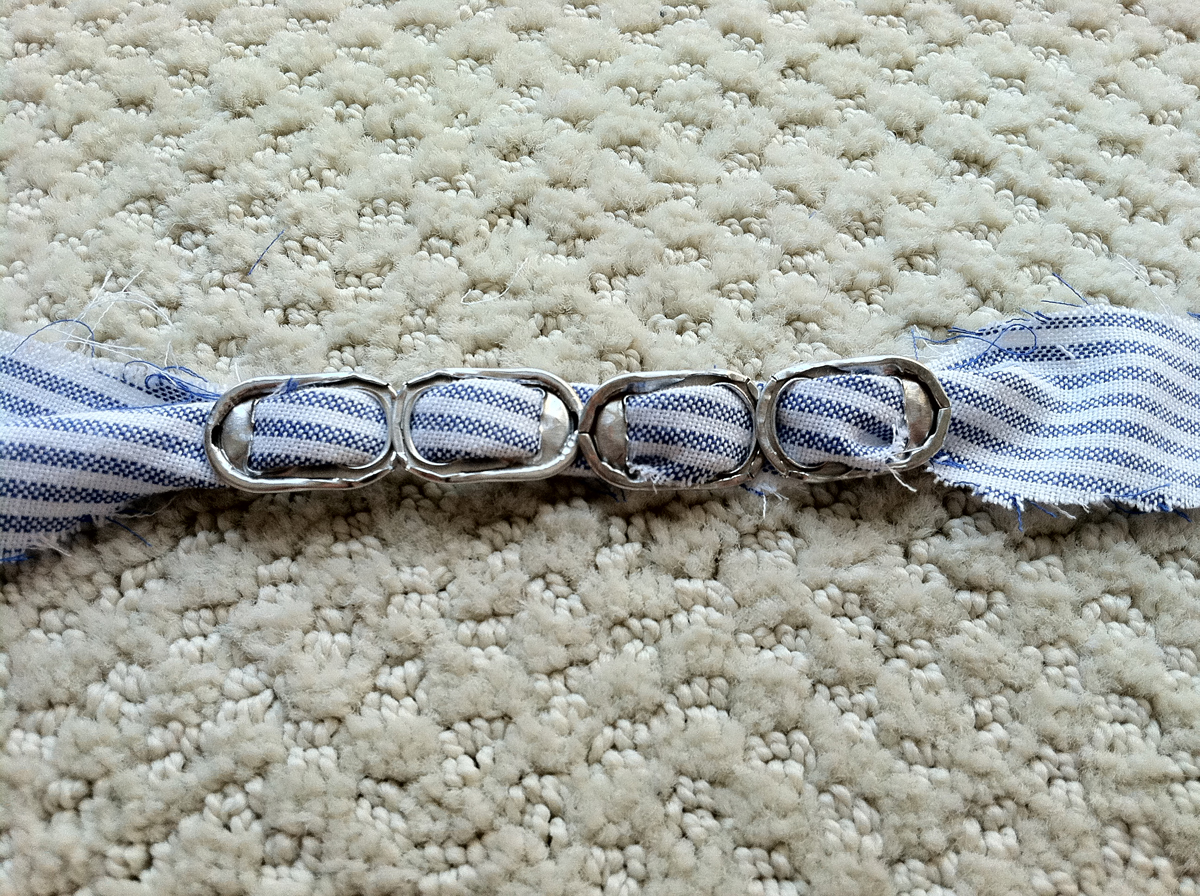
4. On the left side of the knot, holding the pop can tab horizontally and shiny side down (so that hair does not catch on the rough ends), thread the fabric up through the first hole, over the middle, and down through the second hole of the pop can tab.
5. Repeat step 4, making sure that the thick ends of the pop tabs touch each other, and the thin ends touch each other.
6. When you have threaded 8 pop tabs on the left side, repeat steps 4 and 5 on the right side of the knot.
7. Wrap the headband around your head and tie the fabric together at the nape of your neck. Done!
Categories:
Delightful DIY: Pop Tab Accessories
August 21, 2011
Delightful DIY: Pop Tab Accessories
0


